Extending the MapWinGIS Viewer
In this section, we will improve the design of the Map Viewer application by including more functionalities. These features are simple to include, but they will significantly improve the look and feel of the application. We will include the following features:
- a menu bar with several menu items
- buttons for selecting and deselecting features
- menu item for adding and removing shapefile labels
- Exporting Map Layer as a jpg.
Adding a Menu Bar and Menu items and Sub-Items
-
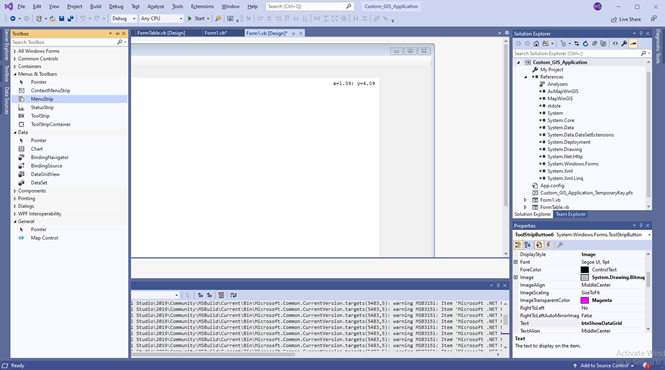
Top-level menus (the type of menus that run across the top of forms) are created using the Menu Strip control. Add the MenuStrip to the main form by going to the Toolbar section and looking for the MenuStrip Control. Drag the Menu Strip Control to the Form.
-
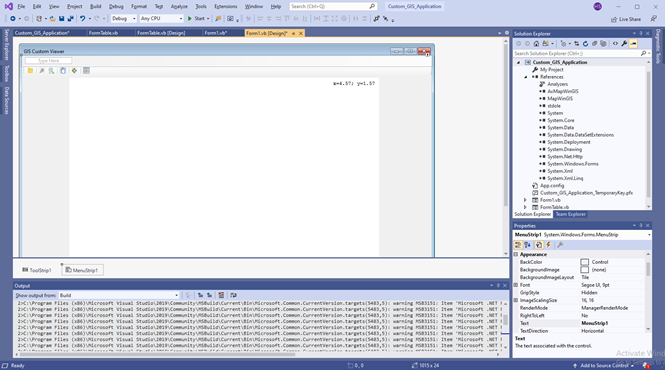
After dragging the Menu Strip control on to the form, you will notice that it is added to the panel beneath the form, and that a Type Here field appears at the top of the form, as shown below.
-
Use the Properties panel to change the name of the Menu Strip object to mainMenu. Click in the Type Here field at the top of the form and enter &File. This has the effect of creating a menu item object labeled “File”. The ampersand (&) is added to instruct Visual Basic to use the ‘F’ at the beginning of the file as the accelerator key for this menu item. As such, pressing Alt+F when the application is running will be equivalent to clicking on the menu item with the mouse pointer.
-
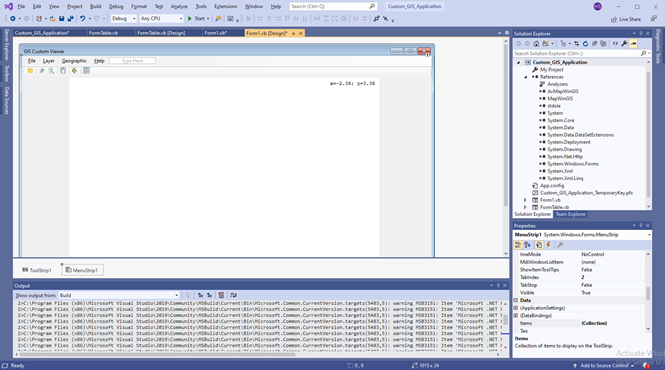
The location of the ampersand dictates the accelerator key. For example, H&elp will declare ‘e’ as the accelerator for this particular menu item. Windows indicates the accelerator for a menu item by underlining the letter, as you will see by the underlined ‘F’ on your File menu item. Once the File menu item has been added, Visual Studio will create both a drop-down menu and a field to add another menu item.
-
Click on the Type Here field under File and type &Open File…. When you enter this text, Visual Studio will add another Type Here field beneath the “Open File” entry. Click in this field and enter &Export Layer…. Once again, Visual Studio provides the opportunity to add another item. This time, however, we are going additional top-level menus. Click on the menu item next to “File” and add a menu named “&Layer”. Continue with this process and enter menu items for “&Geographic” and “&Help. You should remember to place to place a separator after groups of related menus.
Assigning Keyboard Shortcuts to Menu Items
-
It is conventional to allow menu items to be selected keyboard shortcuts. These are key sequences that typically involve pressing a key whilst holding down the Ctrl, Alt or Shift key.
-
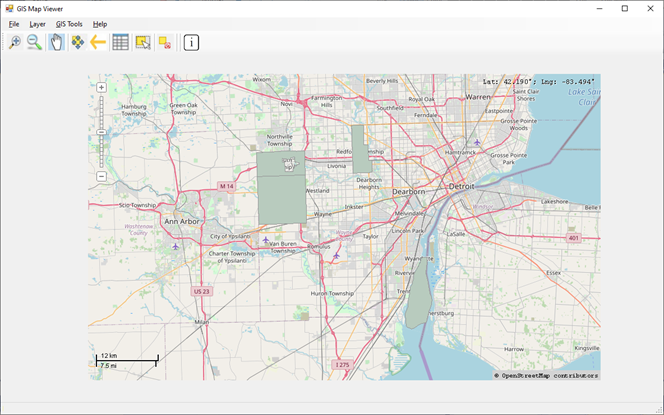
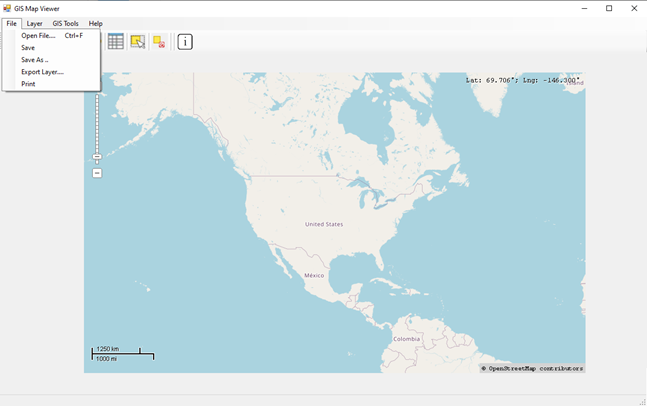
Keyboard shortcuts are defined by setting the ShortcutKeys property of a menu item object. For example, to configure the Exit menu item to use Ctrl-X, select the menu item and click in the value field of the ShortcutKeys property in the Visual Studio Properties panel. A panel will appear providing the option to select Ctrl, Shift or Alt and also the key to be pressed in conjunction. Use this panel to configure the Ctrl+X key sequence for this menu item. Now, run the application to see how it looks. In the illustration below, I added a layer. The default OSM layer has also been added. Notice the menu at the topic of the application.
-
Now that the basics are in place, you can extend the application by adding more buttons and menu and submenu items. Once these are added, you can research and code other functions accordingly.
Code for Extending the Application
Adding Labels to a Layer
The code below will add labels to a layer.
Private Sub LabelFeaturesToolStripMenuItem_Click(sender As Object, e As EventArgs) Handles Label-
FeaturesToolStripMenuItem.Click
    Dim hndl As Integer, field As Integer, i As Integer
    Dim text As String
    Dim x As Double, y As Double
    Dim col As UInt32

    'Get handle for layer 0 which must contain a shapefile
    hndl = MapMain.get_LayerHandle(0)
    'Get the shapefile contained in layer 0
    shpfile = MapMain.get_GetObject(hndl)
    'Set shapefile field to use when labeling layer as field 0
    field = 3
    'Set the color for the labels to be black
    col = System.Convert.ToUInt32(RGB(0, 0, 204))

    'Label every shape in the shapefile
    For i = 0 To shpfile.NumShapes - 1
        'Set the text for this shape
        text = shpfile.CellValue(field, i)
        'Set the x,y coordinates for this label to be the min x & y coord of the shape
        x = shpfile.Shape(i).Extents.xMin
        y = shpfile.Shape(i).Extents.yMin

        'Configure and add the layer by the shape centering the text

        shpfile.Labels.FontSize = 9
        shpfile.Labels.FontBold = True
        shpfile.Labels.FontColor = col
        shpfile.Labels.Alignment = tkLabelAlignment.laTopCenter
        shpfile.Labels.AutoOffset = True
        shpfile.Labels.AvoidCollisions = True
        shpfile.Labels.FrameVisible = False
        shpfile.GenerateLabels(3, tkLabelPositioning.lpCenter, False)

    Next
    MapMain.Redraw()
End Sub
Code for Removing Labels from a Layer.
Private Sub RemoveLabelsToolStripMenuItem_Click(ByVal sender As System.Object, ByVal e As System.EventArgs) Handles RemoveLabelsToolStripMenuItem.Click
    Dim lb As MapWinGIS.Labels
    If shpfile Is Nothing Then Exit Sub
    lb = shpfile.Labels
    lb.Clear()
    mapMain.Redraw()
End Sub
Code Exporting Map Layer as a jpg.
Private Sub ExportLayerToolStripMenuItem_Click(sender As Object, e As EventArgs) Handles ExportLayerToolStripMenuItem.Click
    Dim myImage As New MapWinGIS.Image
    Dim myExtents As MapWinGIS.Extents
    myExtents = MapMain.Extents
    'myImage = MapMain.SnapShot(myExtents)

    Dim xName As String
    xName = Format(DateTime.Now, "MMddyyyy-hhmmss") & ".tif"

    If (myImage.Save("C:\Users\Hugh\Desktop\MapWindow GIS\" & xName, True, MapWinGIS.ImageType.JPEG_FILE)) Then
        MsgBox("Image Exported")
    End If

End Sub
Additional Code for Extending the Application
-
A good starting point to look for code samples is the MapwinGIS documentation.
-
You can also look at this MapWinGIS Reference Manual. The codes are written in Visual Basic and are written in a very straightforward manner. Although the document is somewhat dated, fortunately most of the class are still used.
-
You can also look at my Github Repository for sample scripts.